Create a master volume controller with Wwise and Unity
This tutorial will show you how to create a master volume controller with Wwise and Unity. The volume will be changed with a RTPC so we can control it in Unity.
First of all we need a Unity project that already has the Wwise integration. Then in the Wwise project we’re going to create the RTPC that will control the volume, and a new sound to test it.
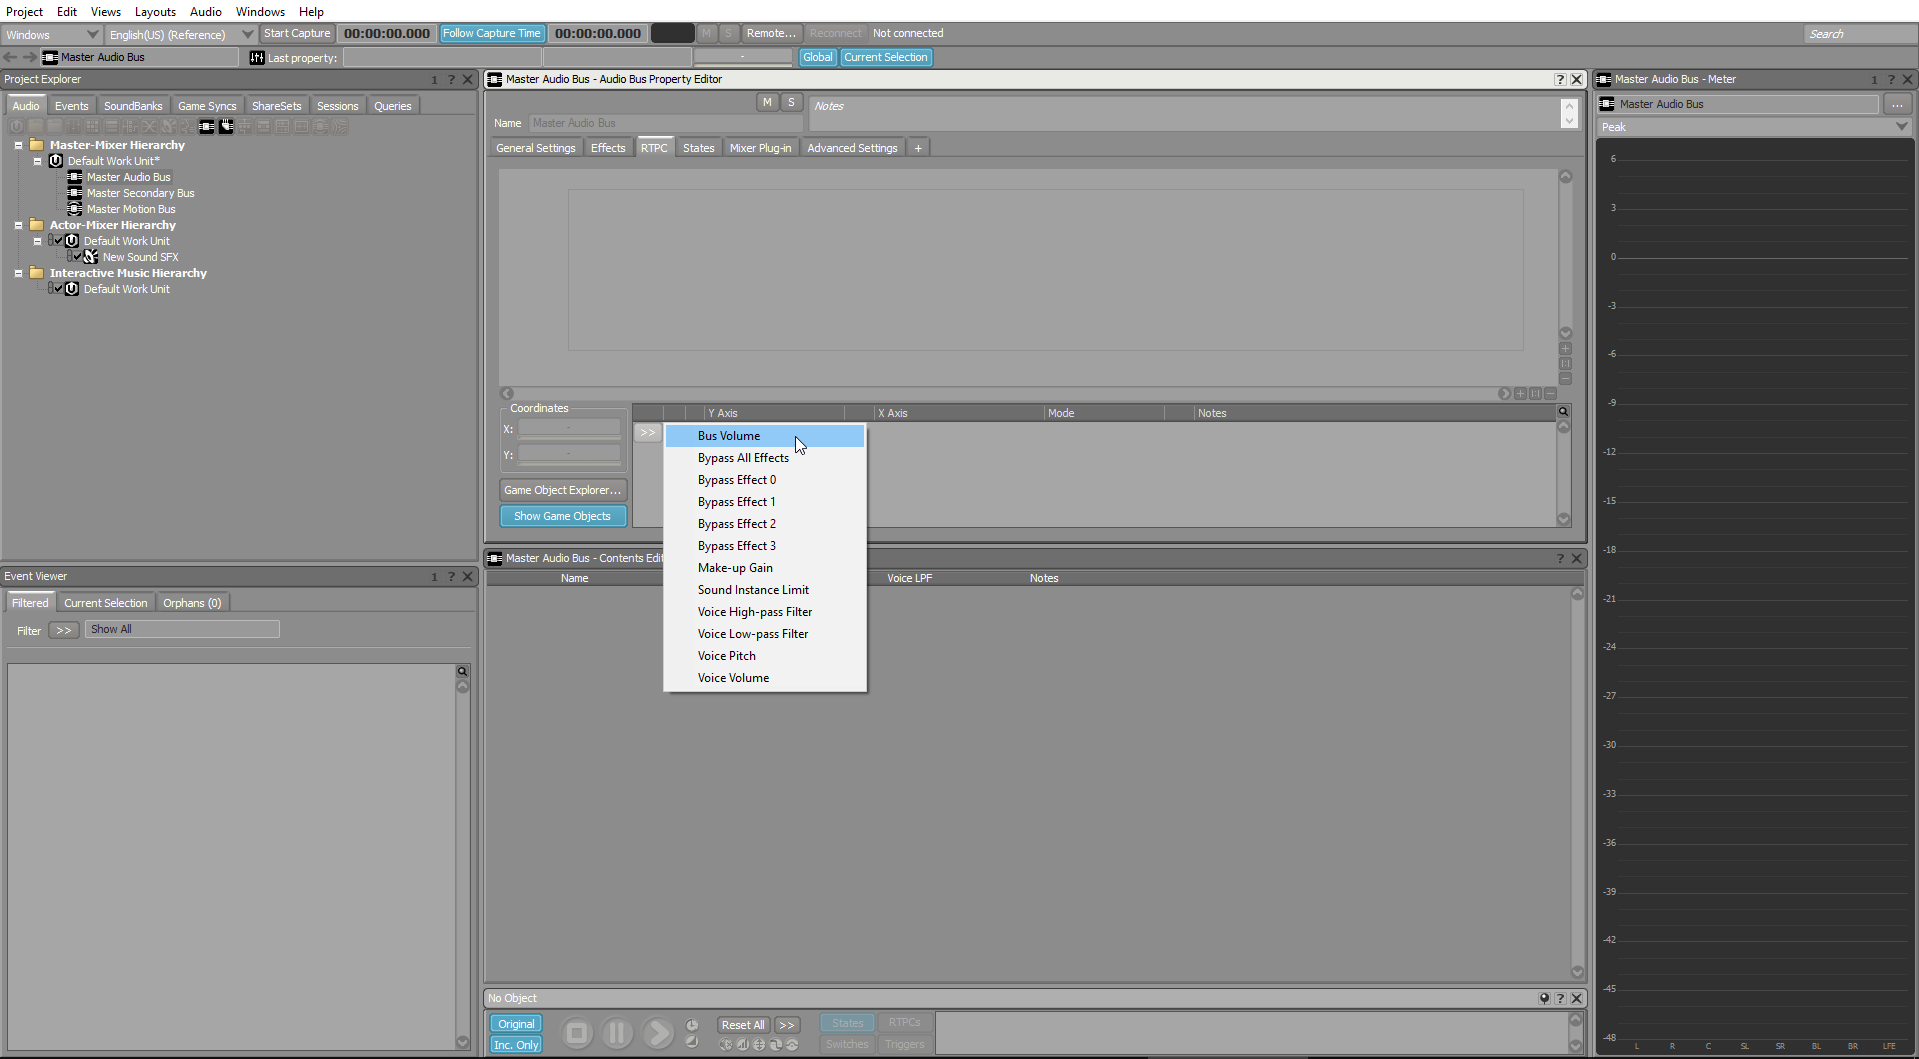
First we need to create the RTPC. We select the Master Audio Bus and then go to the RTPC tab and add a new RTPC by clicking the » button and choosing Bus Volume.
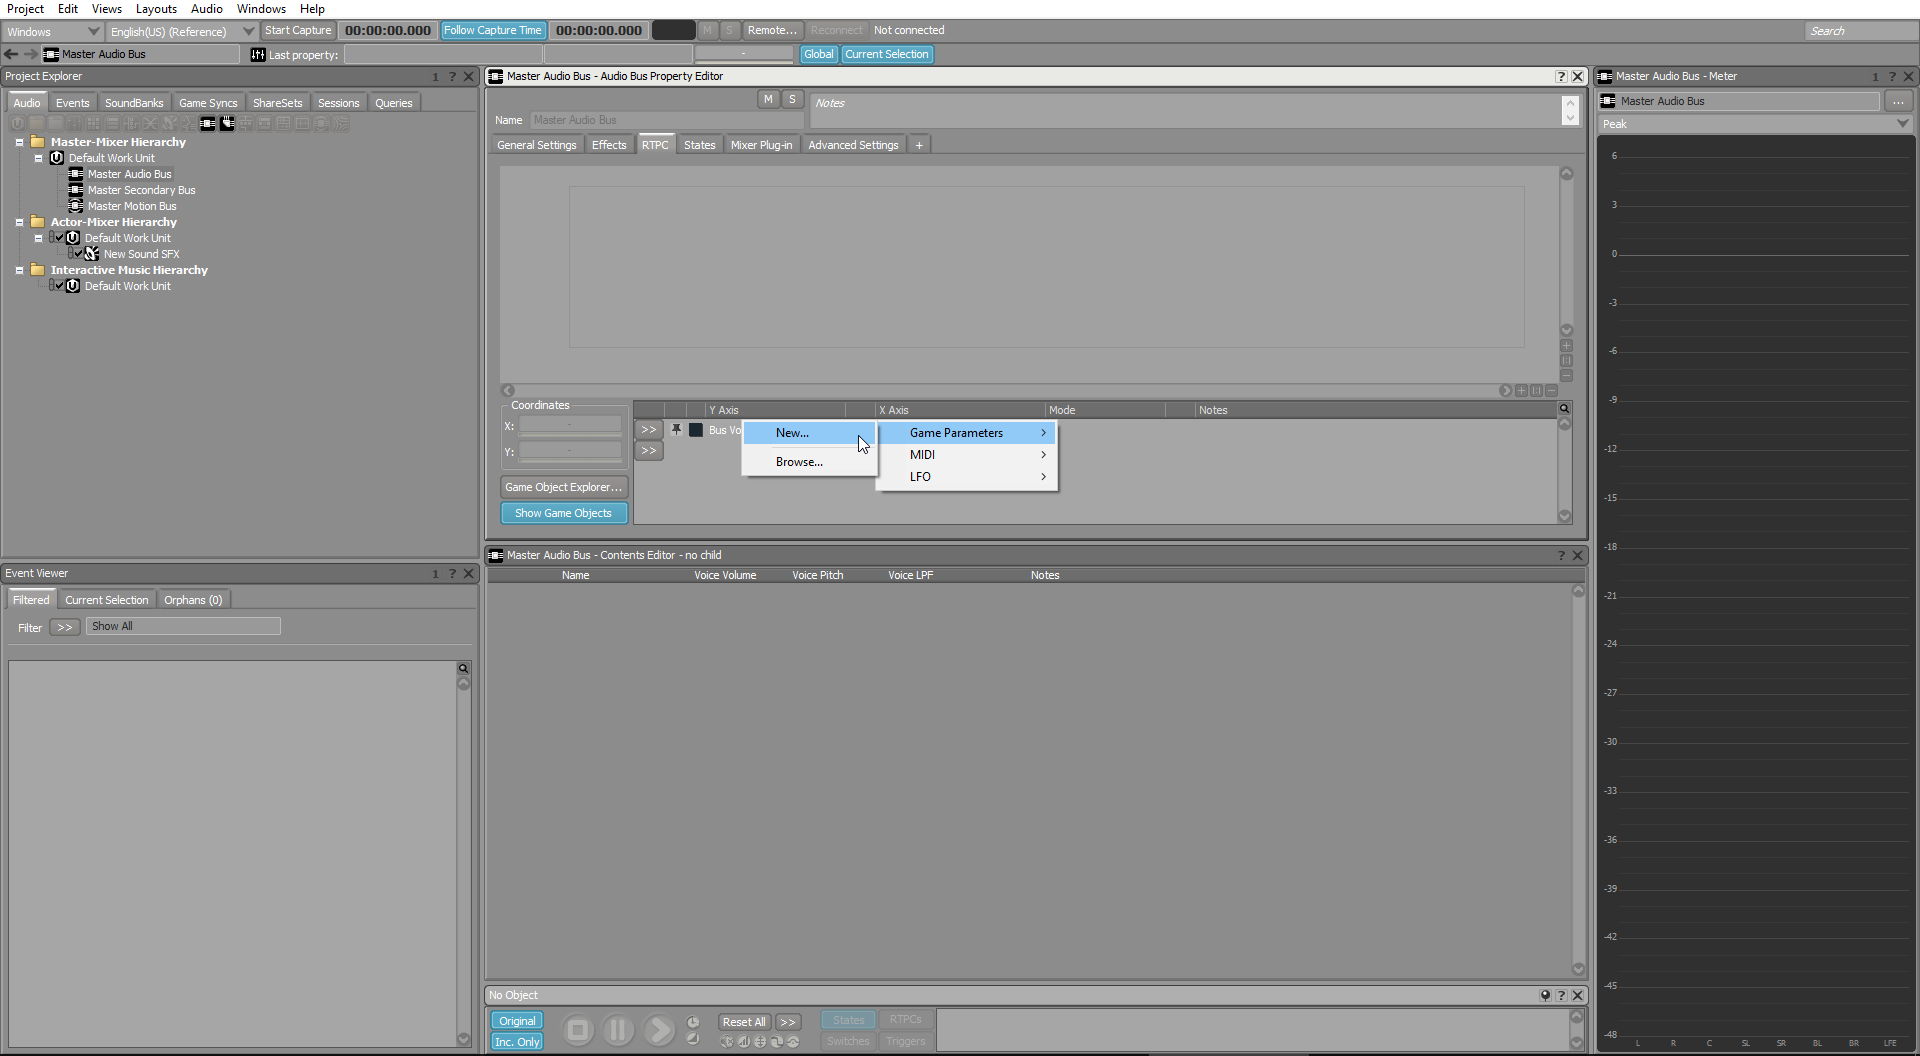
We can then click on the » button on the left of our new RTPC to add a new Game Parameter.
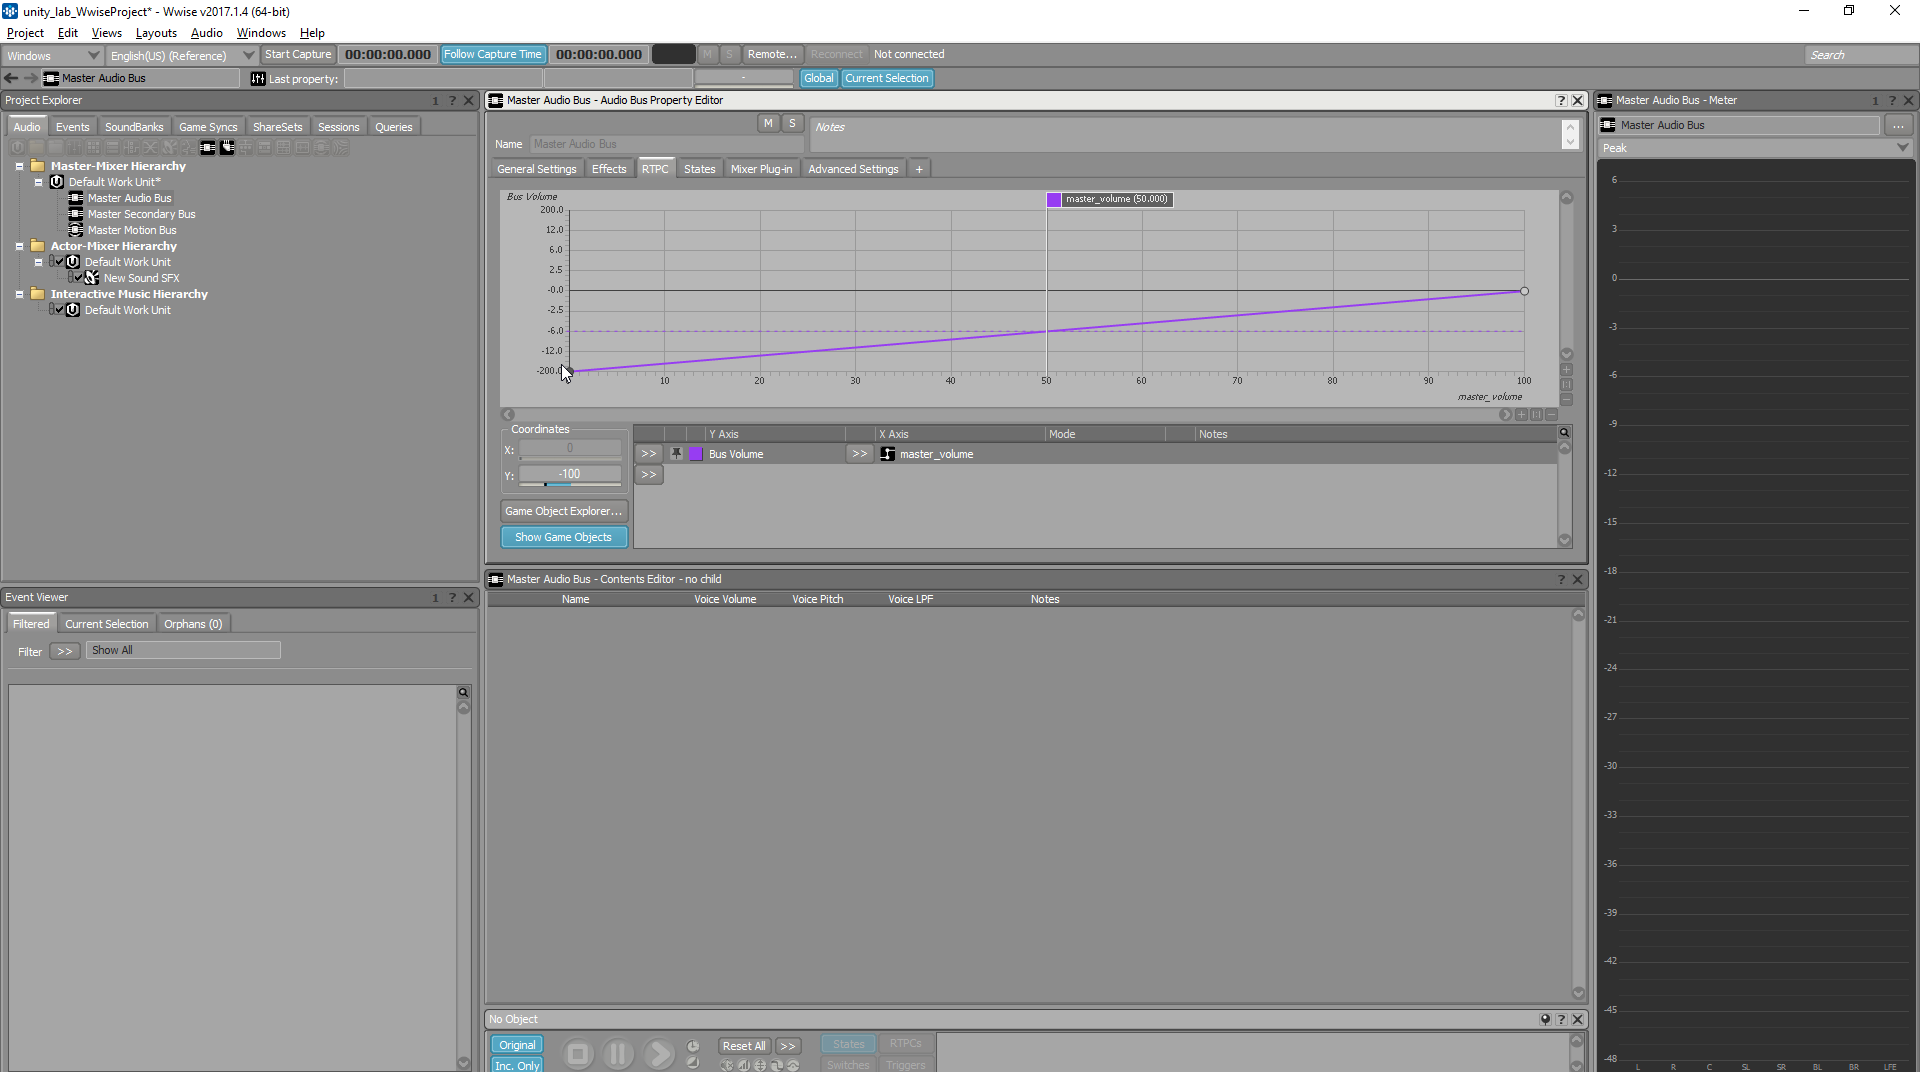
Choose a name and the RTPC should appear. Then click on it to show the curve and select the left handle to change its value from 200 to 100.
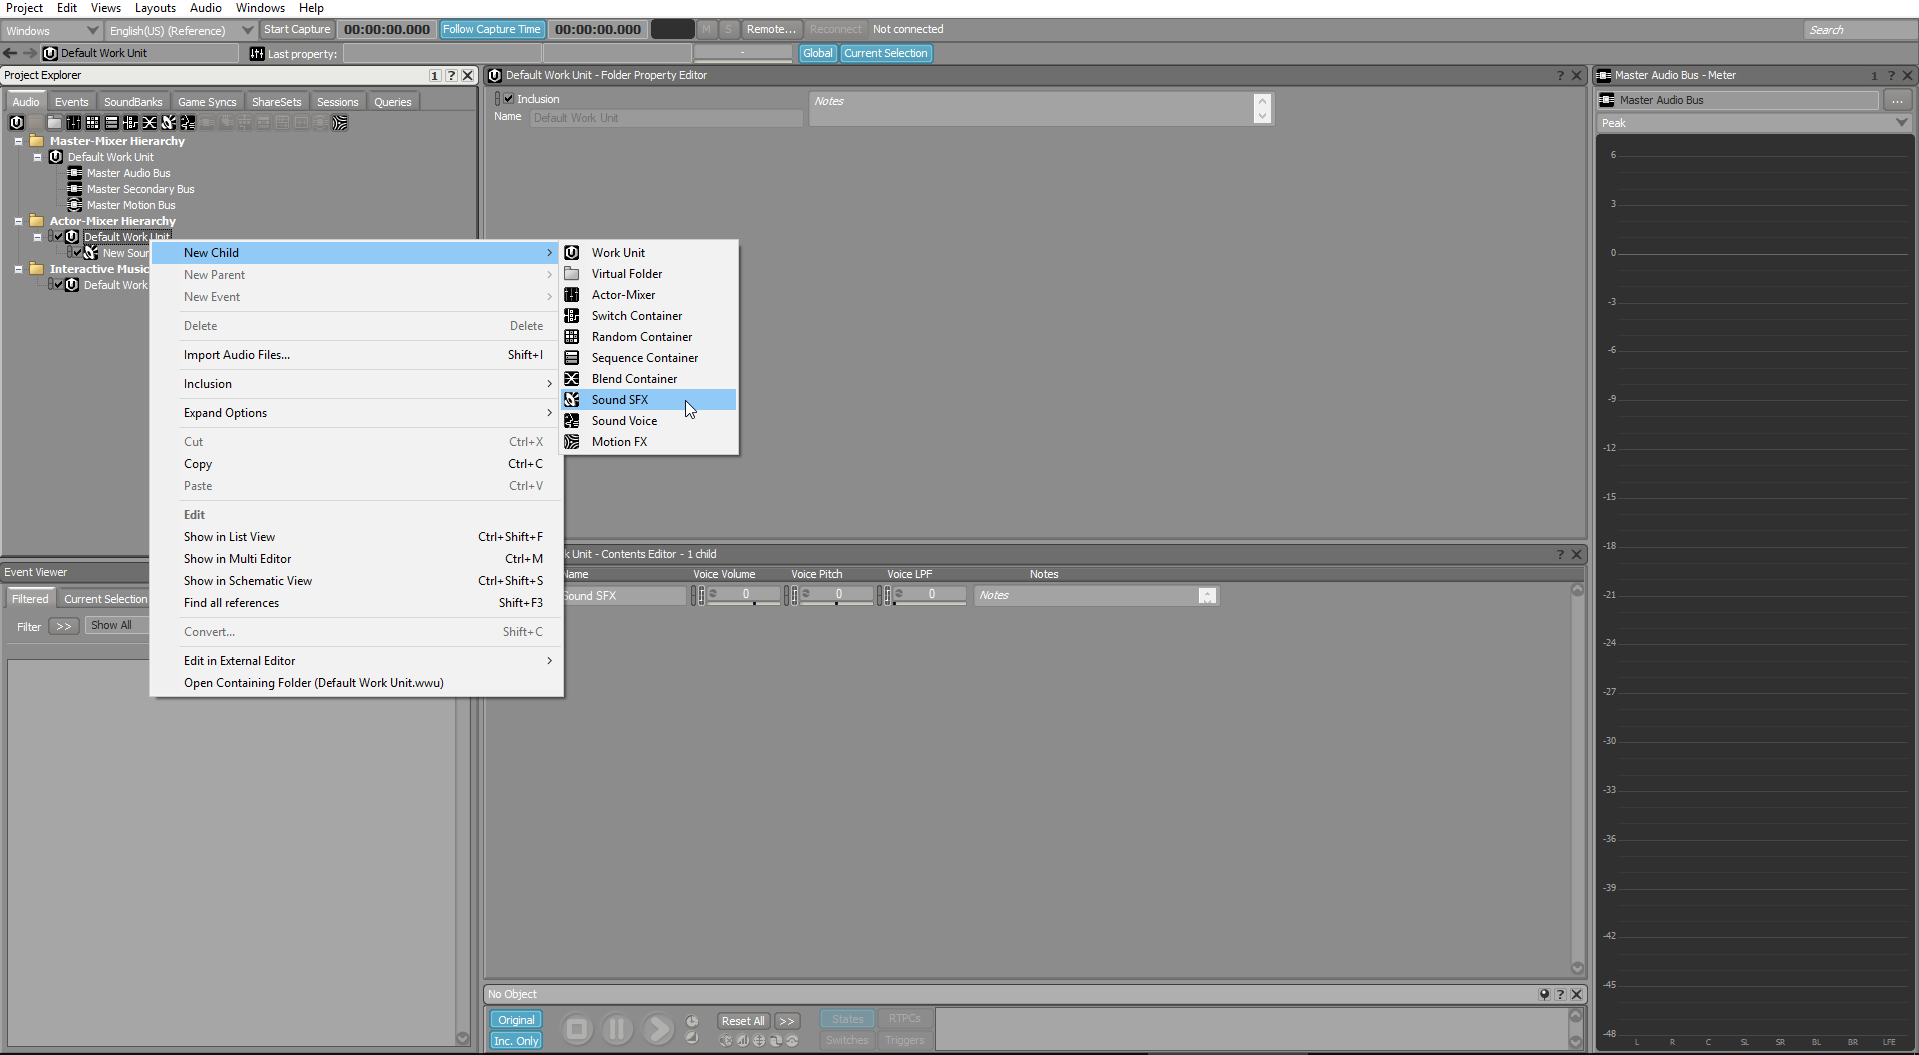
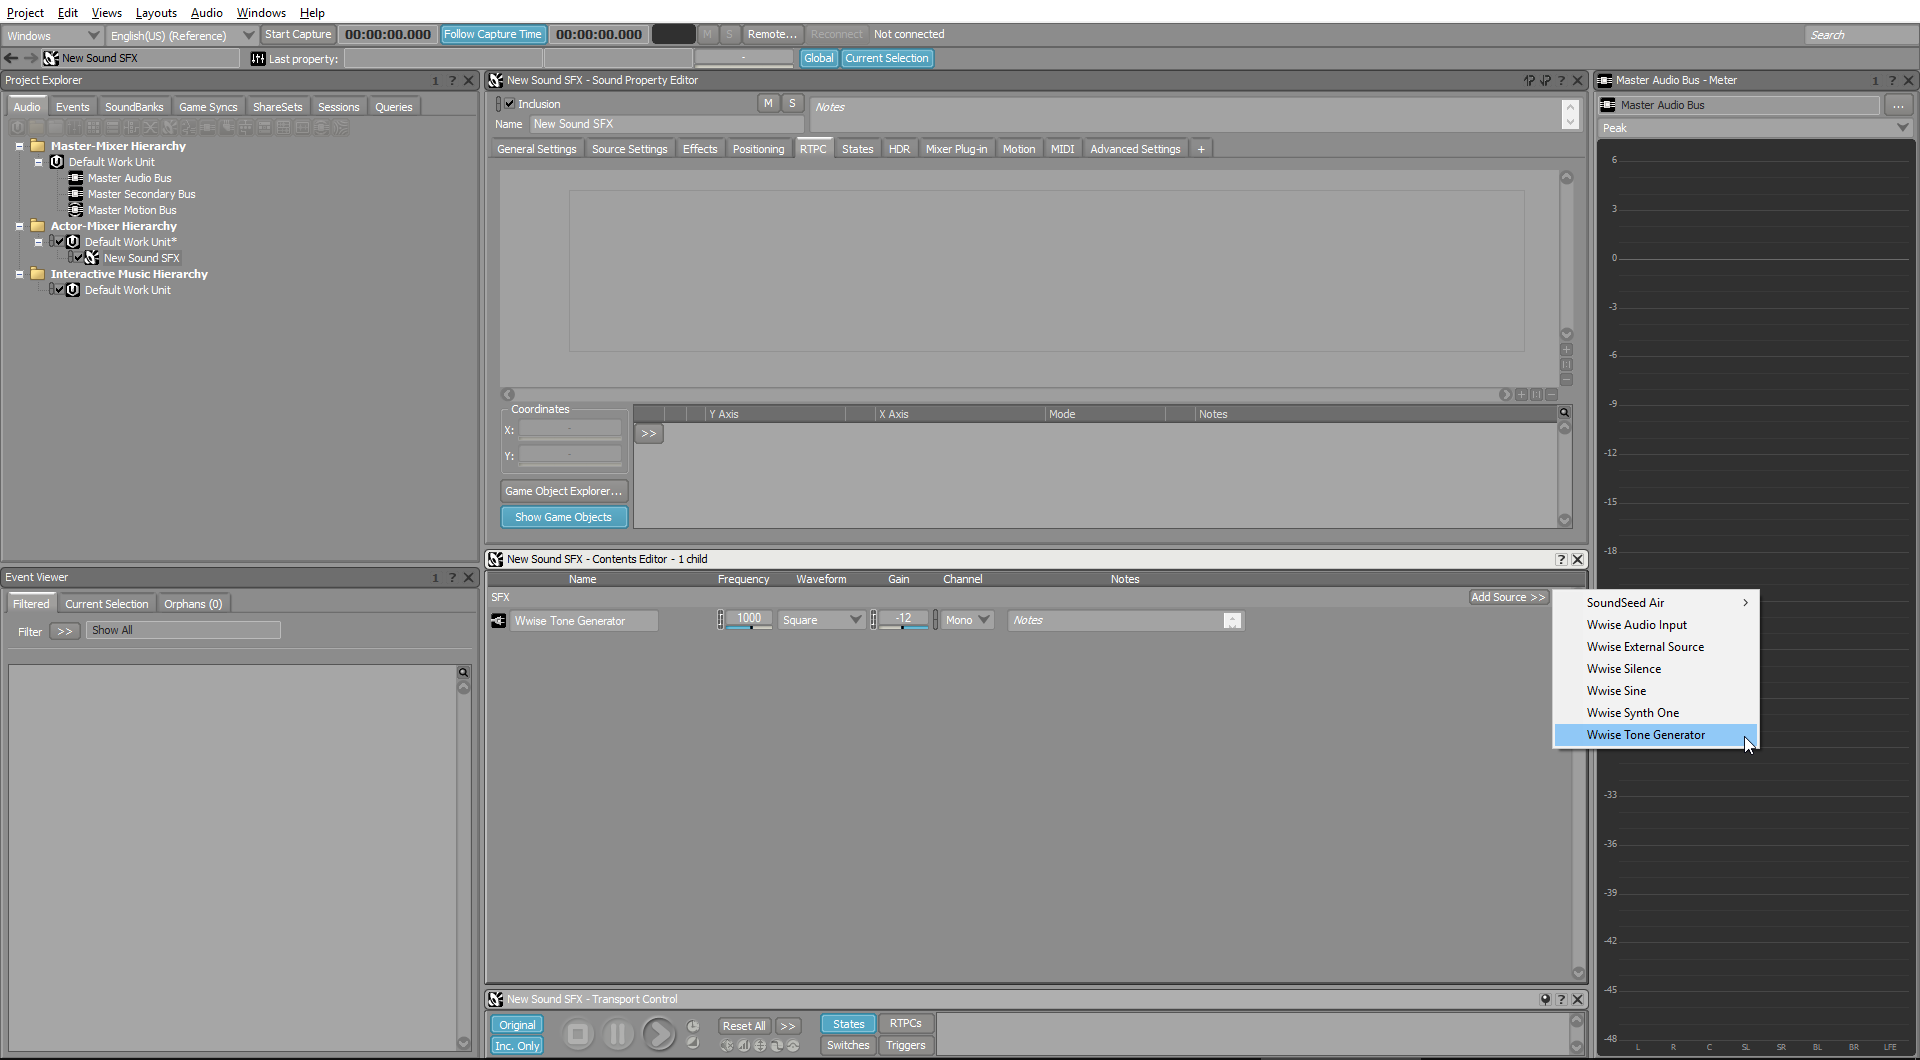
Now we can add a new sound to test our new RTPC. Right-click on the Default Work Unit and a new Sound SFX child
Add a new source to our sound by clicking the Add source button and select Wwise Tone Generator.
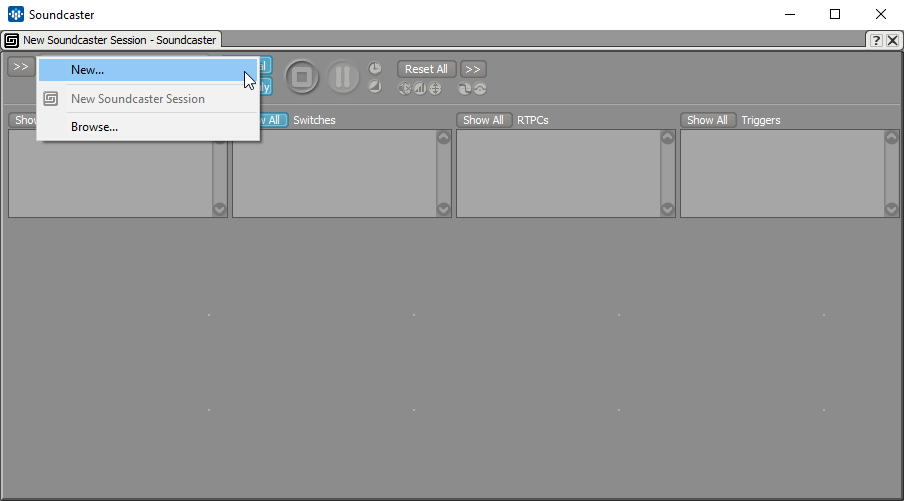
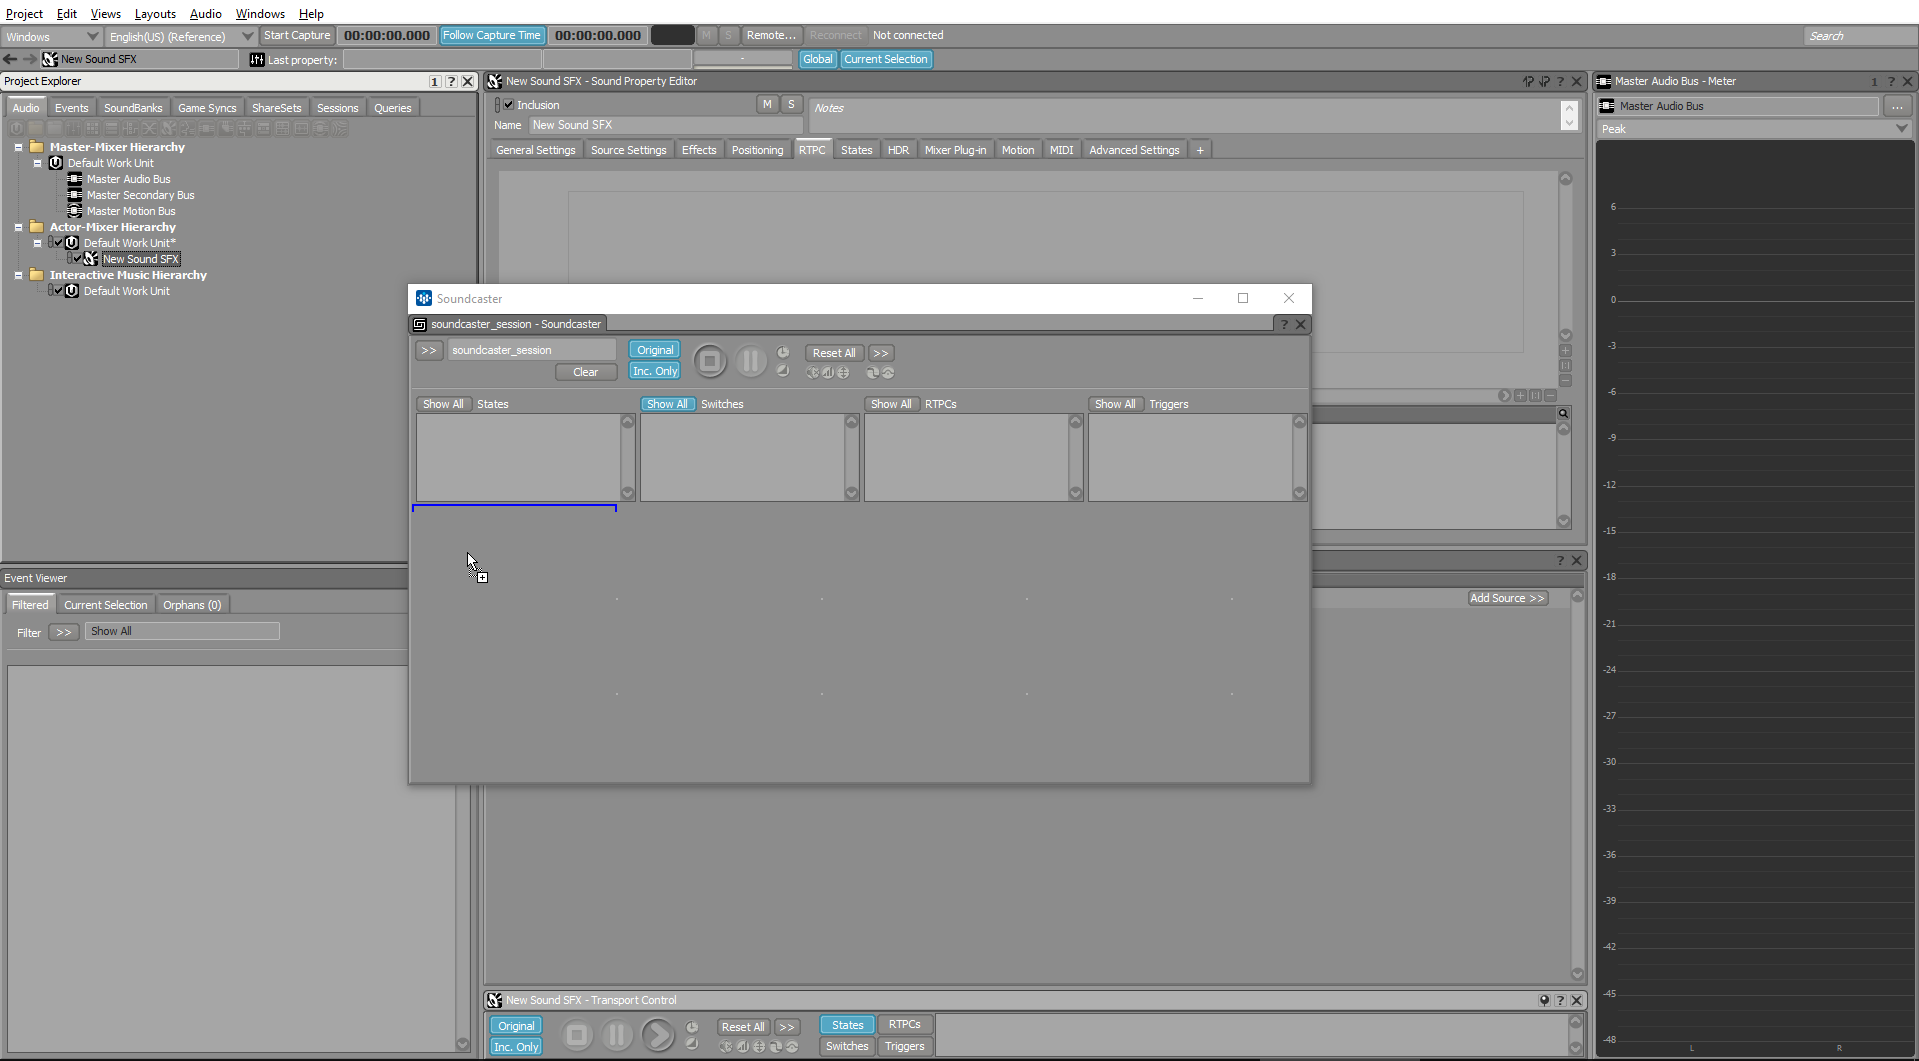
We’re now ready to test this sound in the soundcaster, to open it strike the SHIFT + S shortcut and create a new session by clicking the » button and New… option.
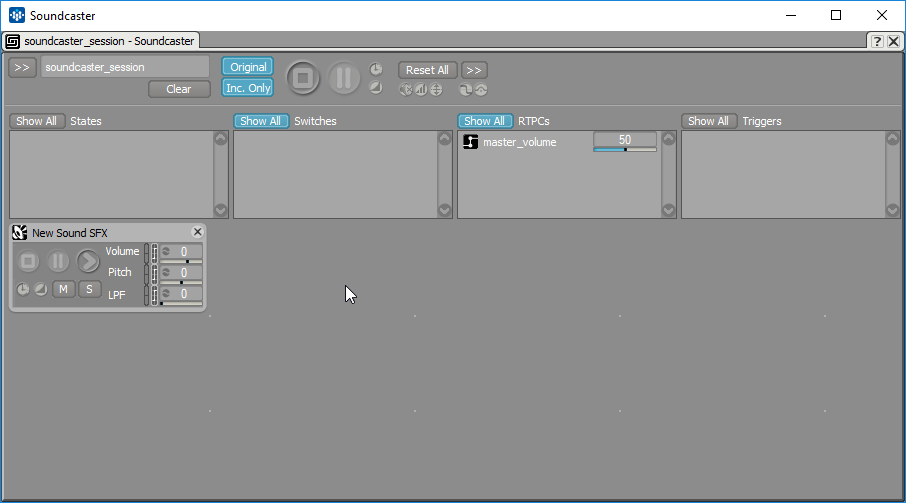
Add a new sound to the soundcaster by dragging and dropping our sound in the Soundcaster windows, and click the Show All button on the right of the RTPCs label to show our master_volume parameter.
In the end your soundcaster should look like that, and we can test our parameter directly by changing its value and playing our sound.
This is the line you’ll need in Unity to change the RTPC value, where master_volume is the name of your RTPC and 100 the value you gave it. We didn’t change the base range, so our RTPC can go from 0 to 100.
AkSoundEngine.SetRTPCValue("master_volume", 100);I hope that this short tutorial helps you, if you’ve any question don’t hesitate to contact me :)